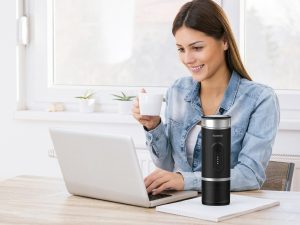
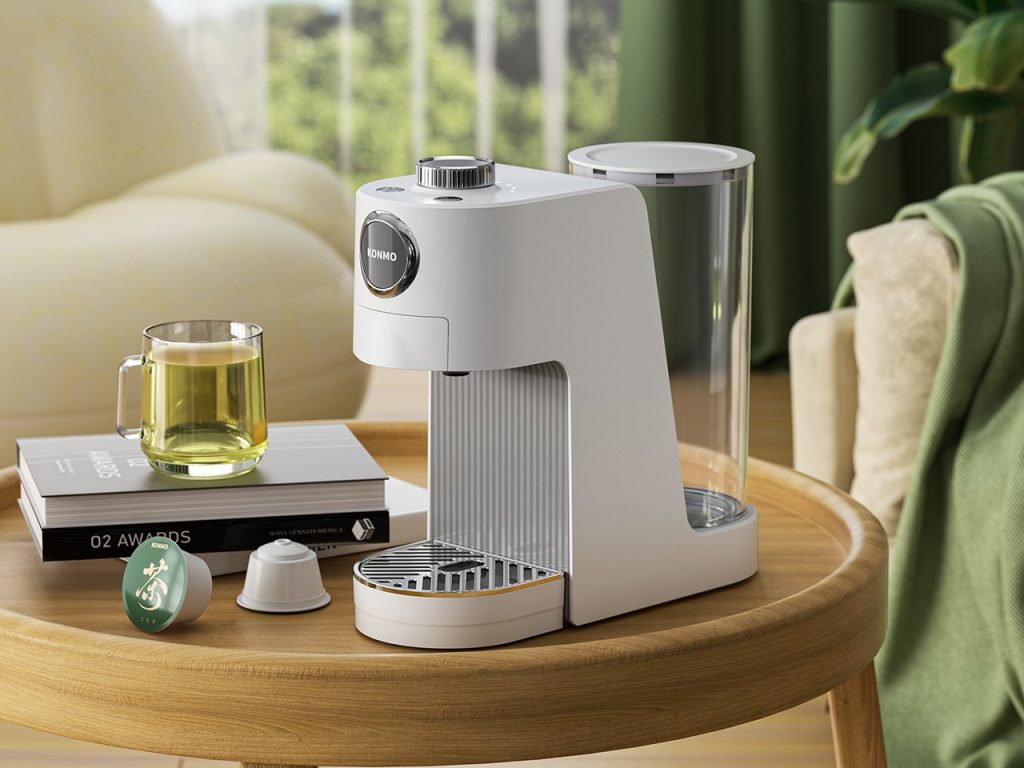
Inserting a coffee capsule follows a simple, repeatable routine: prep the machine, open the compartment, seat the capsule correctly, lock the chamber, and brew. With practice, the process takes only a few seconds. The most important steps are confirming the capsule is oriented correctly and the compartment is fully locked — these two details ensure consistent, full-flavored coffee every time.
Key Takeaways
- Fill the water tank and let the machine fully preheat before inserting a capsule.
- Open the compartment gently and clear any used pods to avoid jams.
- Insert the capsule in the correct orientation for a tight seal and even water flow.
- Close and lock the compartment until you hear a click to build proper brewing pressure.
- Use fresh, undamaged capsules and discard used pods promptly for the best flavor.
Step 1: Prepare Your Coffee Machine
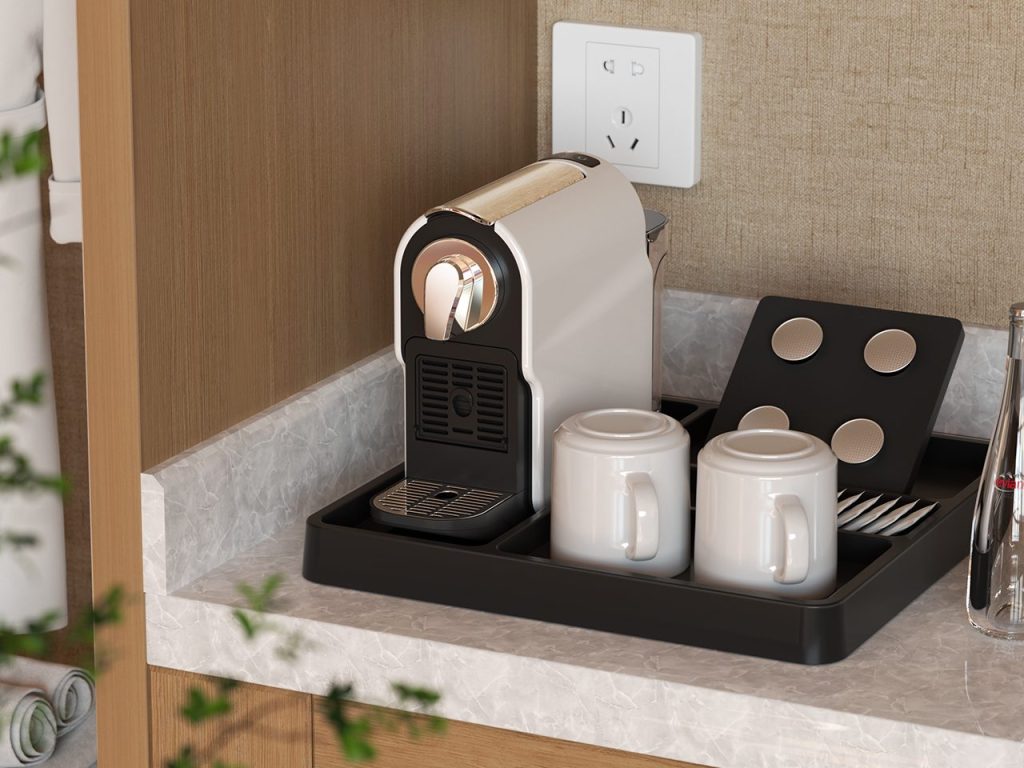
Capsule machines rely on consistent heat and pressure to extract flavor properly. Start with these prep steps:
- Fill the water tank: Use filtered or softened water to prevent mineral scale buildup inside the machine. Salt-free softened water stops calcium and magnesium deposits from forming, extending the machine’s lifespan.
- Power on: Plug in the machine and press the power button. A status light will confirm it is on.
- Let it preheat: Wait for the ready light before brewing. Preheating the water circuit ensures hot water hits the coffee grounds immediately, for a richer, more balanced cup.
For maintenance, descale the machine every 2–4 months depending on water hardness. Regular descaling preserves heating performance and flavor consistency.
Step 2: Open the Capsule Compartment
Capsule compartments come in two common designs — operate both gently to avoid damaging internal mechanisms:
- Top handle/lever: Lift the handle upward smoothly to unlock the brewing chamber. Do not force it; follow the mechanism’s natural resistance. The handle will stay raised on its own, leaving both hands free.
- Sliding drawer/button release: Press the release button to pop the drawer open, then pull it out until it stops.
Before inserting a new capsule, check the slot for leftover used pods or loose coffee grounds. Empty any used pods and wipe the area with a dry cloth — leftover debris causes jams and uneven extraction.
Step 3: Insert the Coffee Capsule Correctly
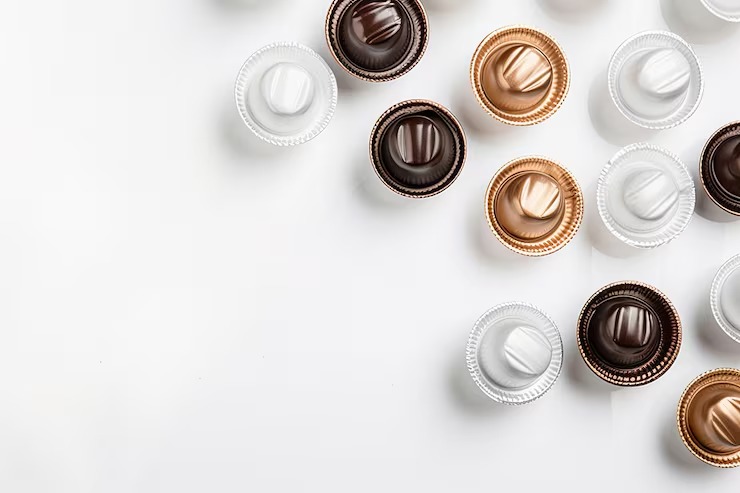
Capsule orientation matters more than most people realize. During brewing, the machine pierces both the top and bottom of the capsule, then forces pressurized hot water through the grounds. A misaligned capsule breaks this seal, so water flows around the coffee instead of through it — resulting in weak, watery coffee.
Confirm the Right Orientation
Always check your machine’s manual for exact guidance, as designs vary by brand. As a general rule:
- The flat foil side usually faces the piercing needle.
- The slightly domed side typically faces outward or upward.
Seat the Capsule Gently
Place the capsule into the holder with a light push — do not force it. You will feel a soft click or snug fit when it is seated correctly. If the capsule wobbles or sits at an angle, remove it and reposition it. Forcing a misaligned capsule can damage the piercing needles or crack the capsule shell, causing leaks.
Before inserting, inspect the capsule for dents or damage. Crushed capsules may not seal properly. Store unused capsules in a cool, dry place — moisture softens the foil and hurts extraction performance.
Step 4: Close, Lock, and Start Brewing
Secure the Compartment
Close the handle or push the drawer back in until you hear a clear click. This confirms the brewing chamber is sealed tightly. Without a proper seal, hot water can leak around the capsule and produce weak, thin coffee.
Most capsule coffee machines have a safety interlock: the machine will not heat or pump water until the compartment is fully locked. This prevents accidental spills and hot water burns.
Brew Your Coffee
- Place your cup centered under the spout to prevent splashing. Standard capsules hold 5–6g of coffee; larger pods can hold up to 10g.
- Select your drink size if your machine has multiple options, then press start or lower the lever.
- Extraction takes roughly 20–30 seconds. Wait until the machine stops flowing.
After brewing, the machine automatically ejects the used capsule. Let it cool briefly before discarding it, or place it in a recycling bin if accepted locally. Prompt disposal prevents stale odors and keeps the brewing area clean.
FAQ
What happens if I insert a capsule upside down?
An upside-down capsule will not pierce correctly. Hot water will flow around the coffee grounds instead of through them, producing a weak, watery cup. Simply remove the capsule and reinsert it in the correct orientation.
Can I reuse coffee capsules?
No — coffee capsules are designed for single use only. The foil seal breaks during brewing, so reusing a punctured capsule causes leaks and weak, flat flavor. Discard used pods in the trash or appropriate recycling.
Why does my capsule coffee machine leak during brewing?
Leaks are almost always caused by an unlocked compartment or a damaged/crooked capsule. First, confirm the compartment is fully closed and clicked into place. If it still leaks, check the capsule for dents or misalignment.
How should I store unused coffee capsules?
Keep unopened capsules in a cool, dry place away from heat sources, in their original packaging. Moisture softens the foil seal and degrades extraction performance over time.
Do all coffee machines accept the same capsules?
No — capsule systems vary by brand and model. KONMO capsule coffee machines are compatible with major systems like Nespresso, Lavazza, Peet’s, and Caffitaly. Always check your model’s compatibility before buying capsules, and reference the machine manual for approved pod types.